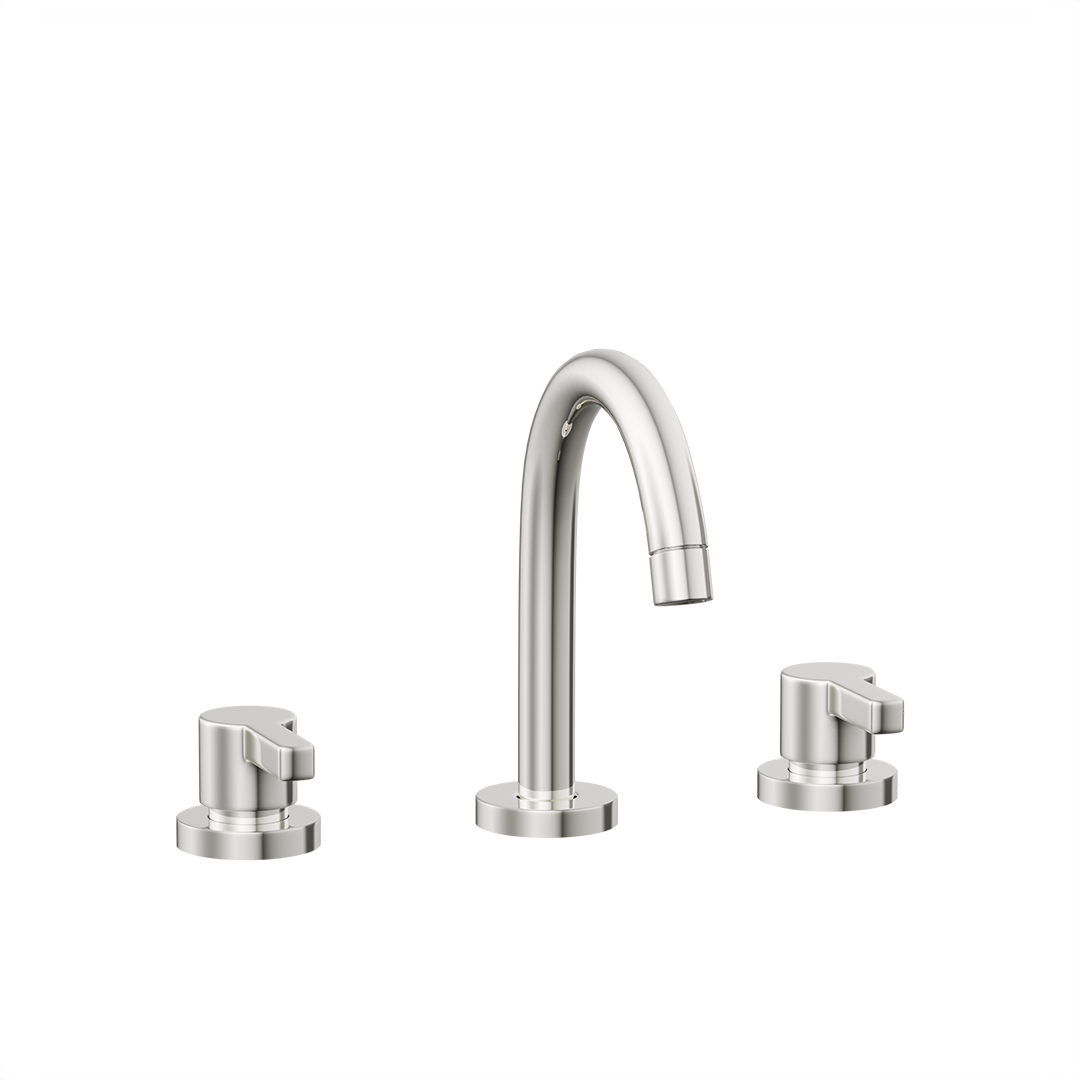
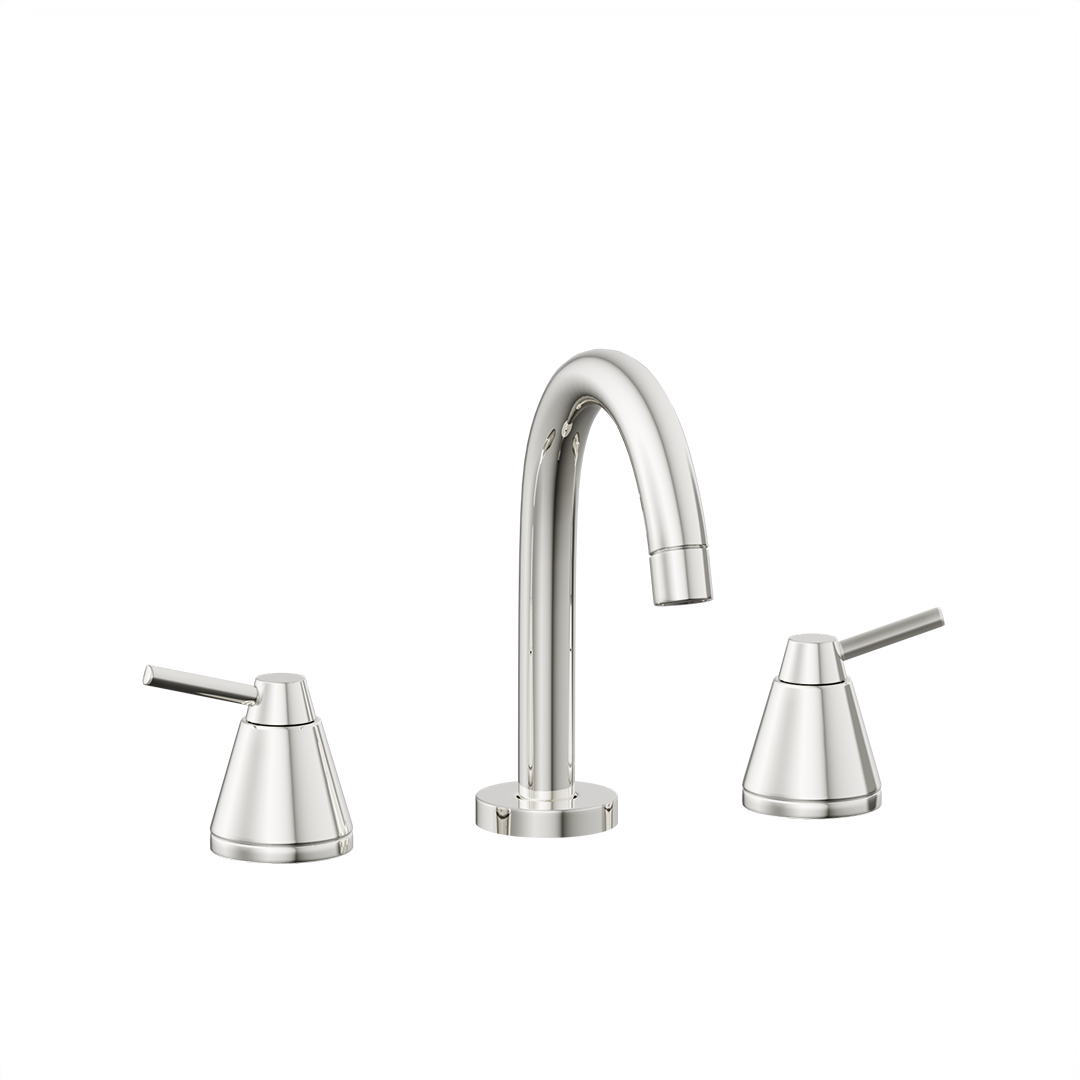
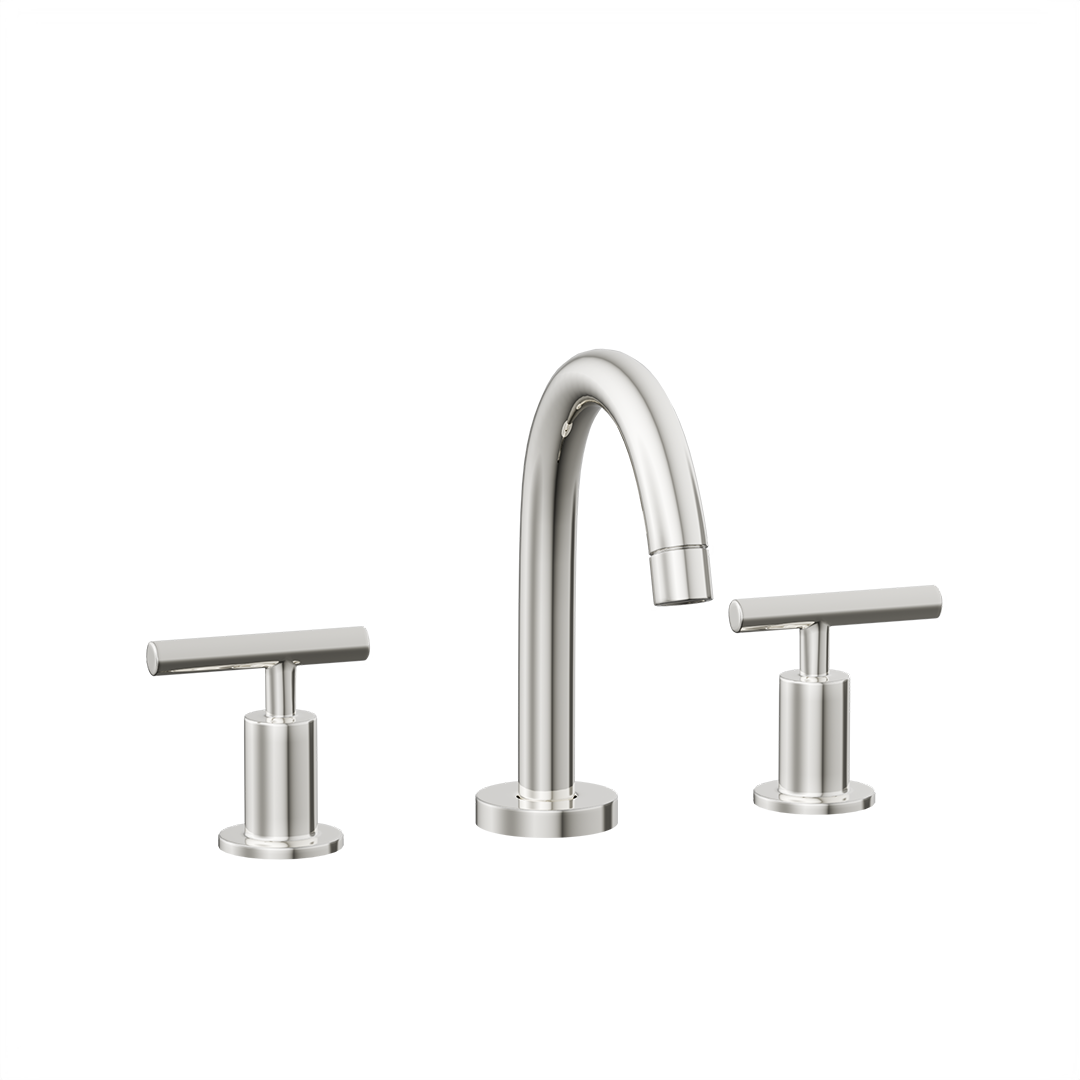
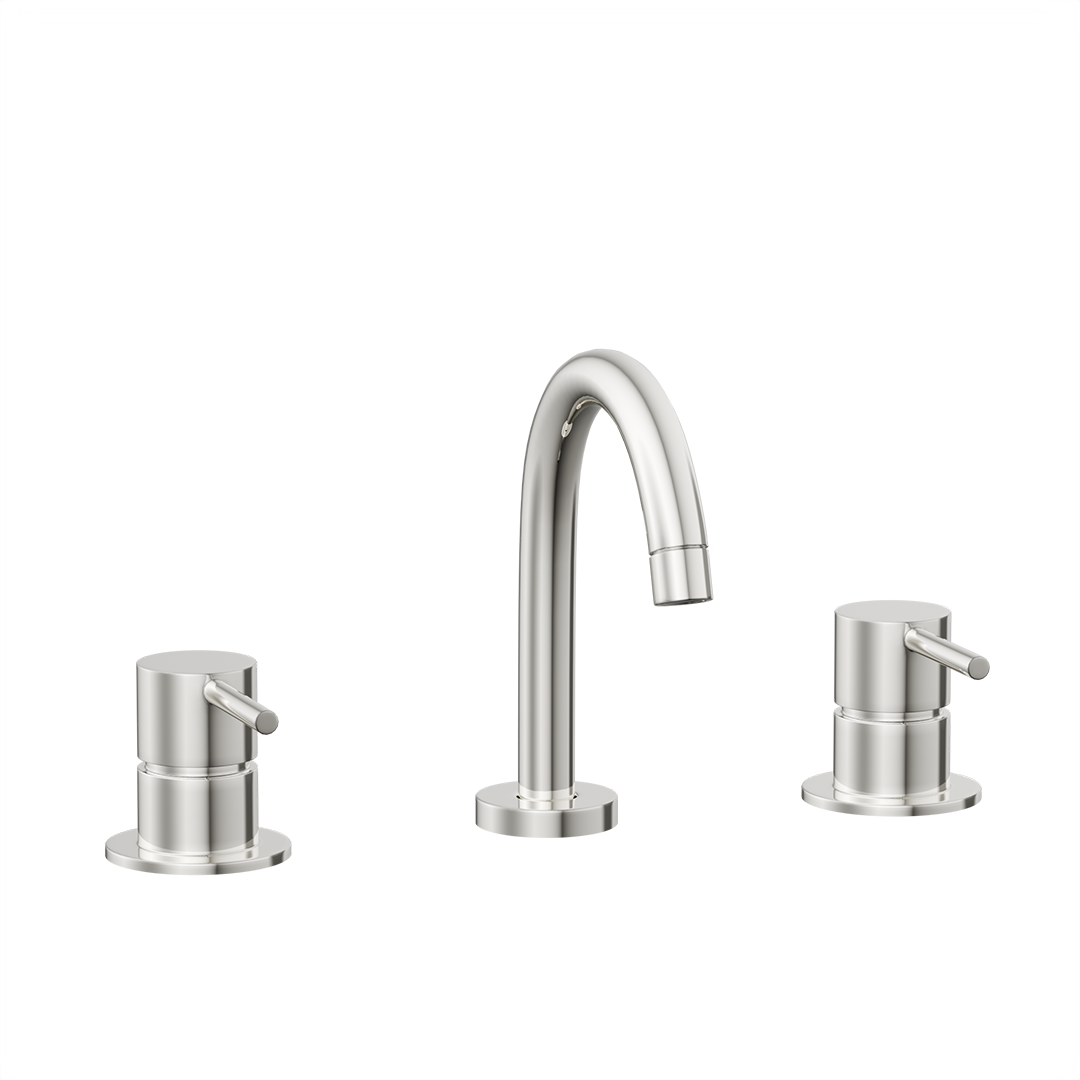
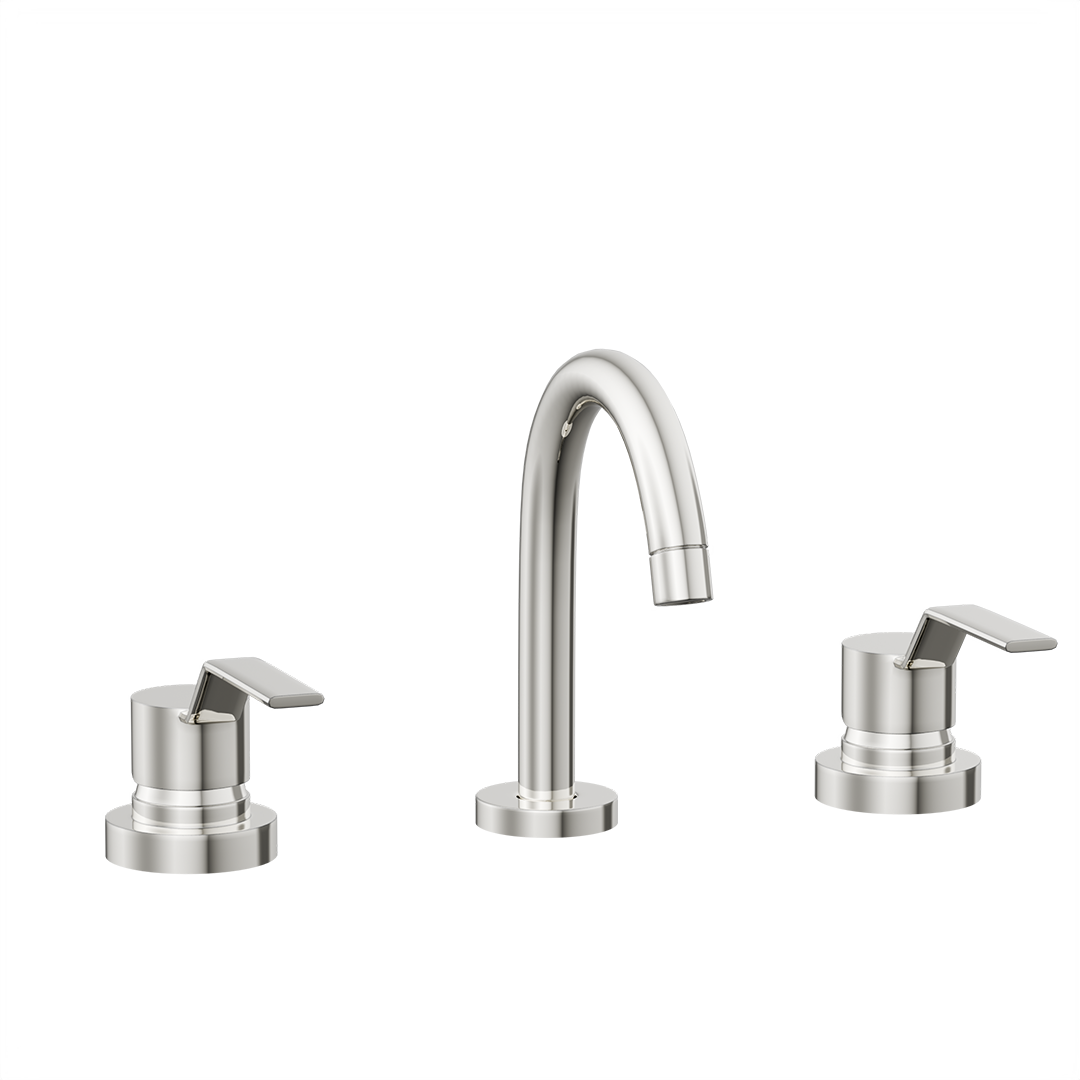
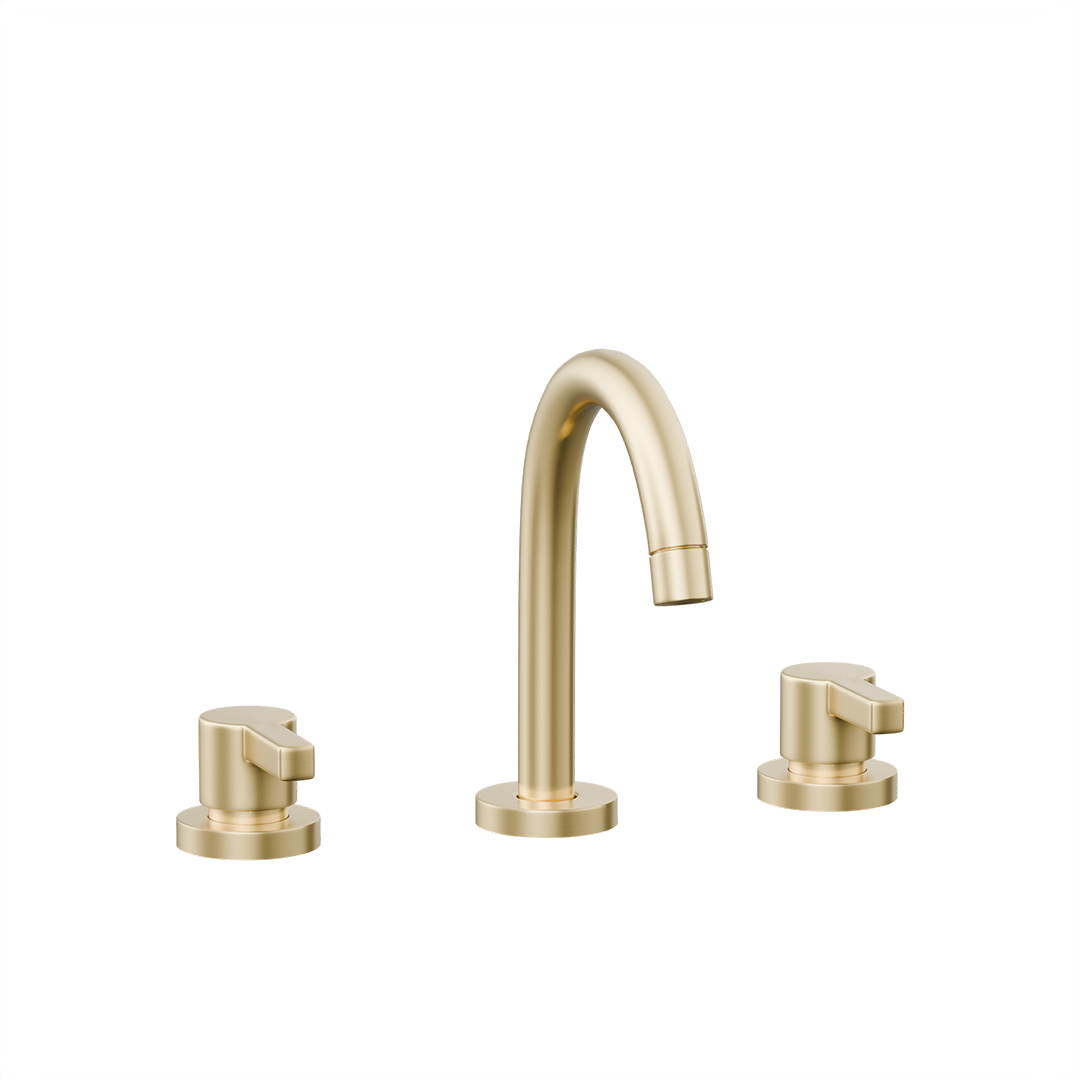
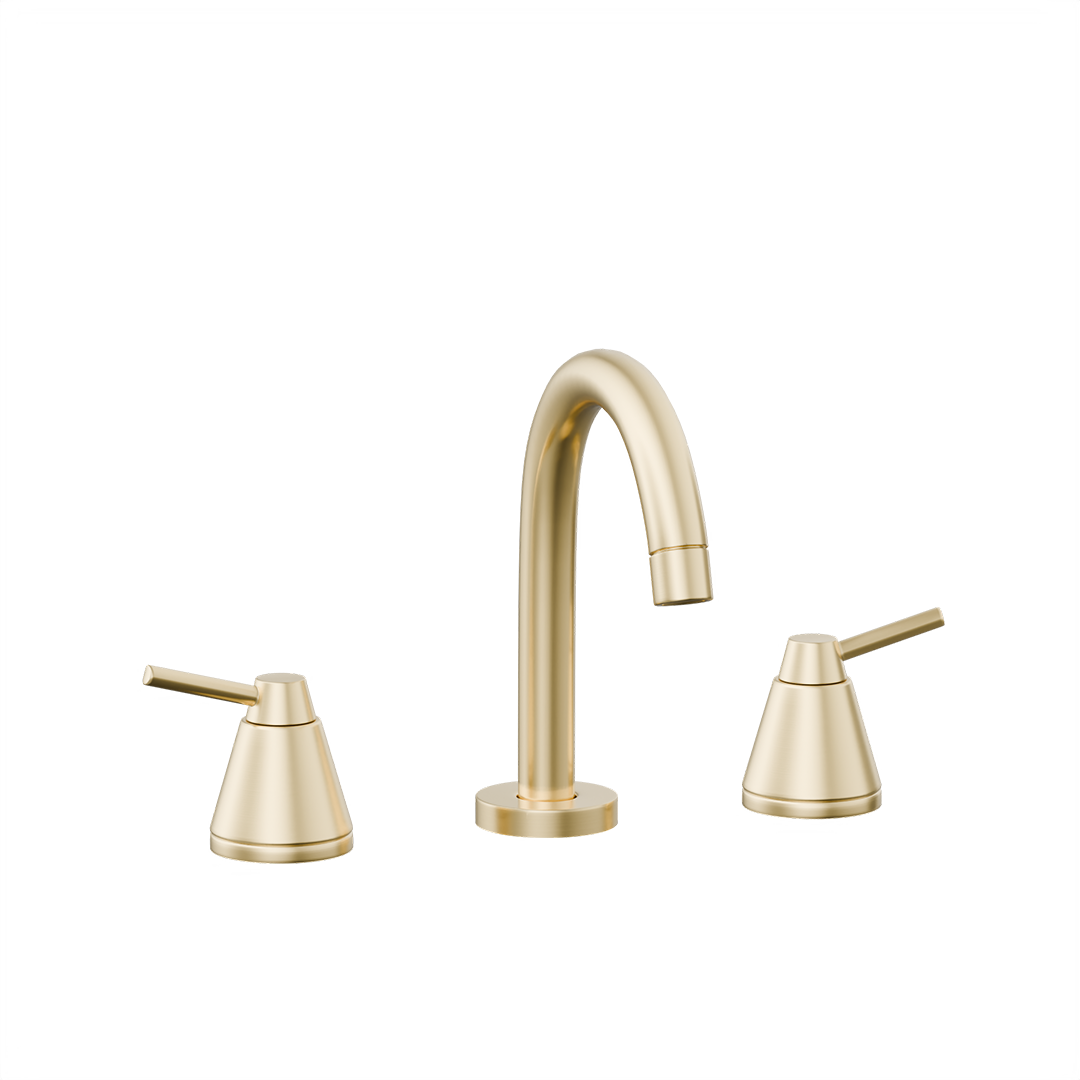
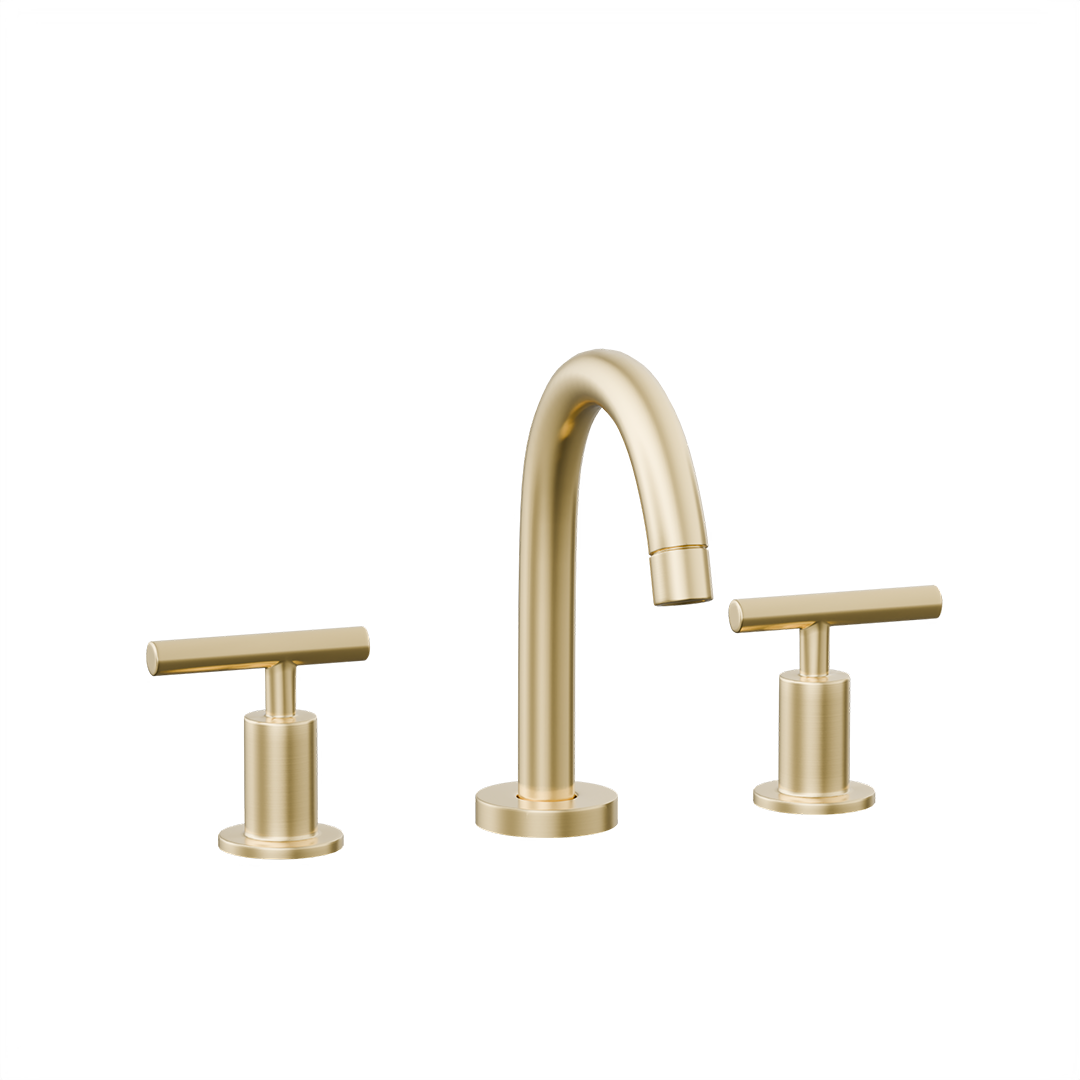
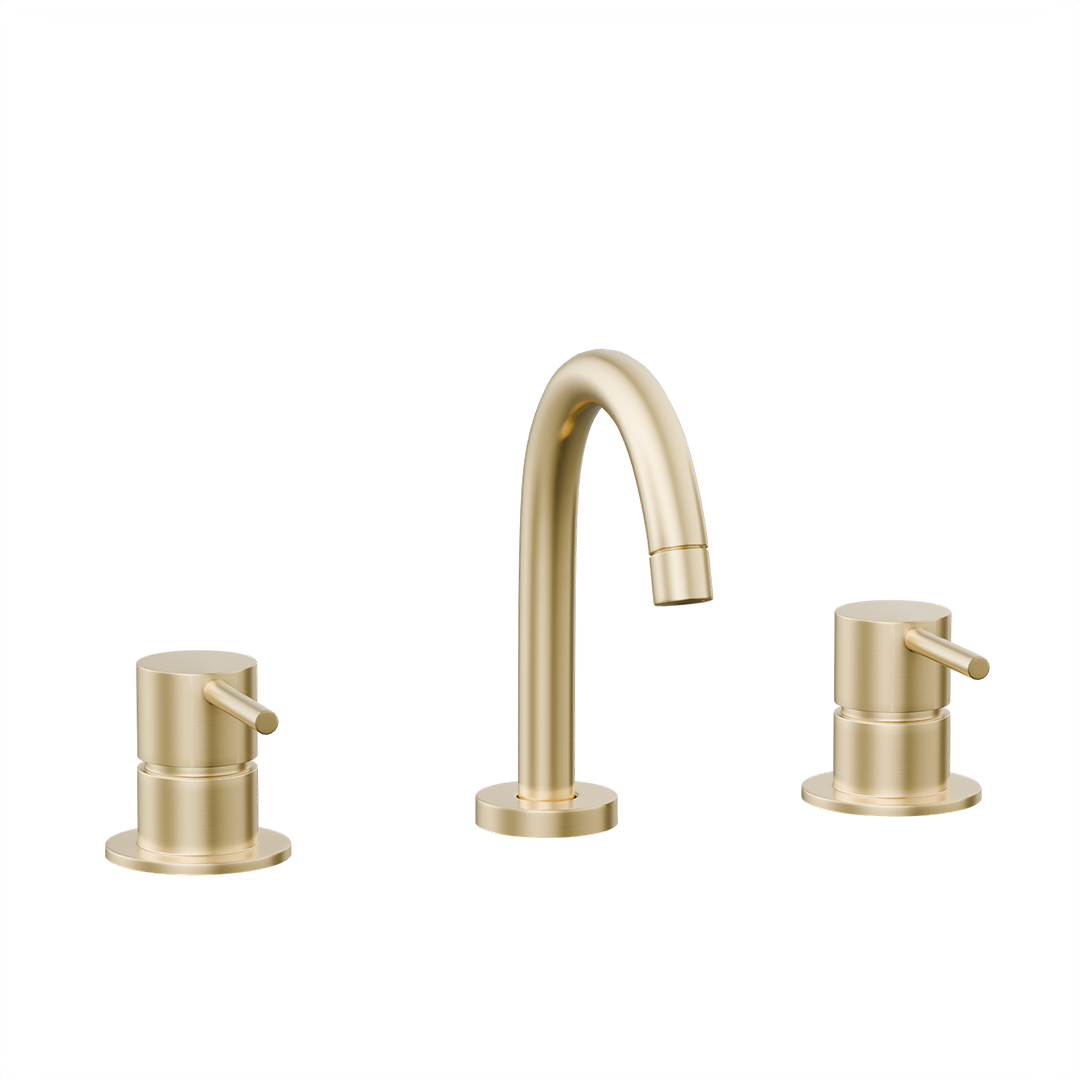
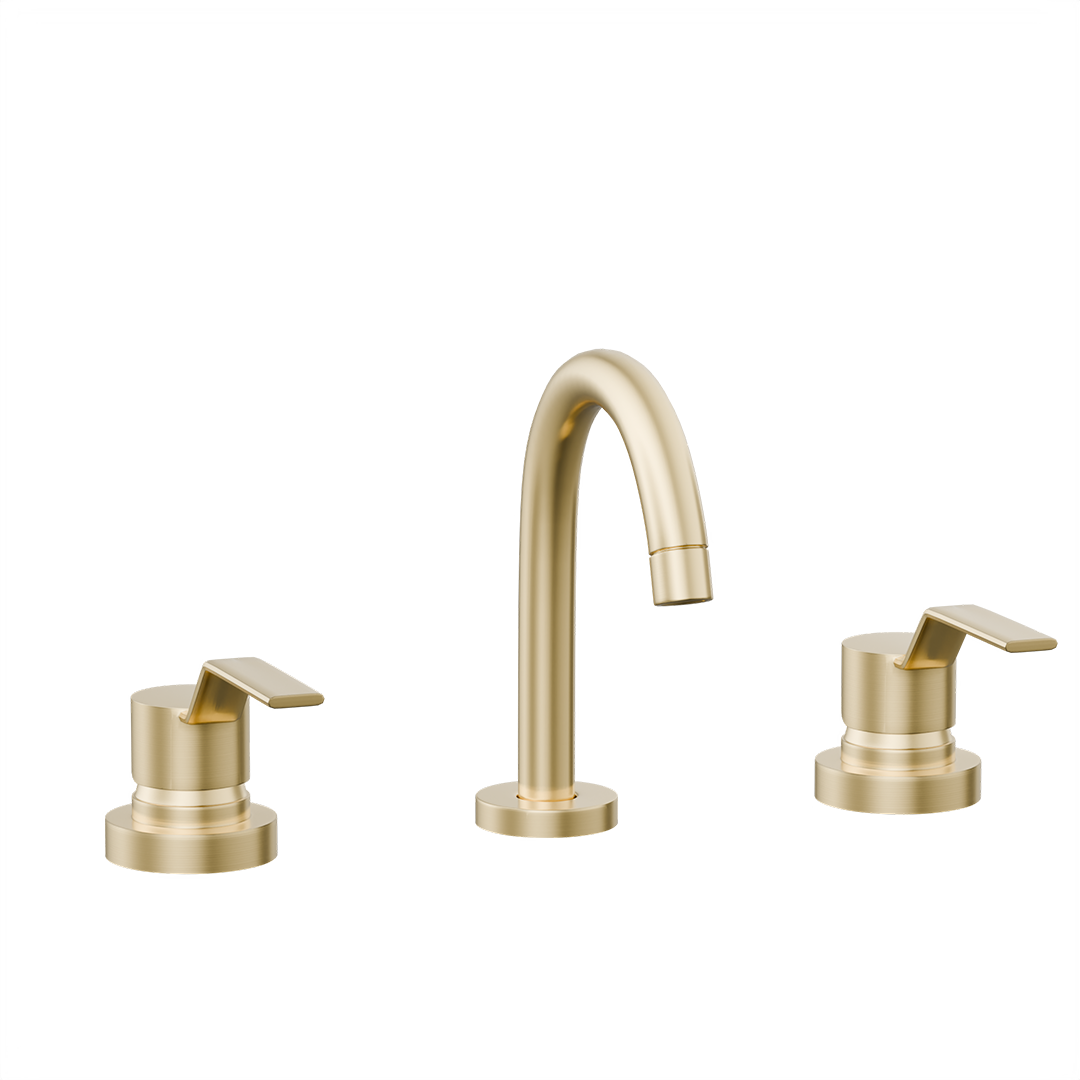
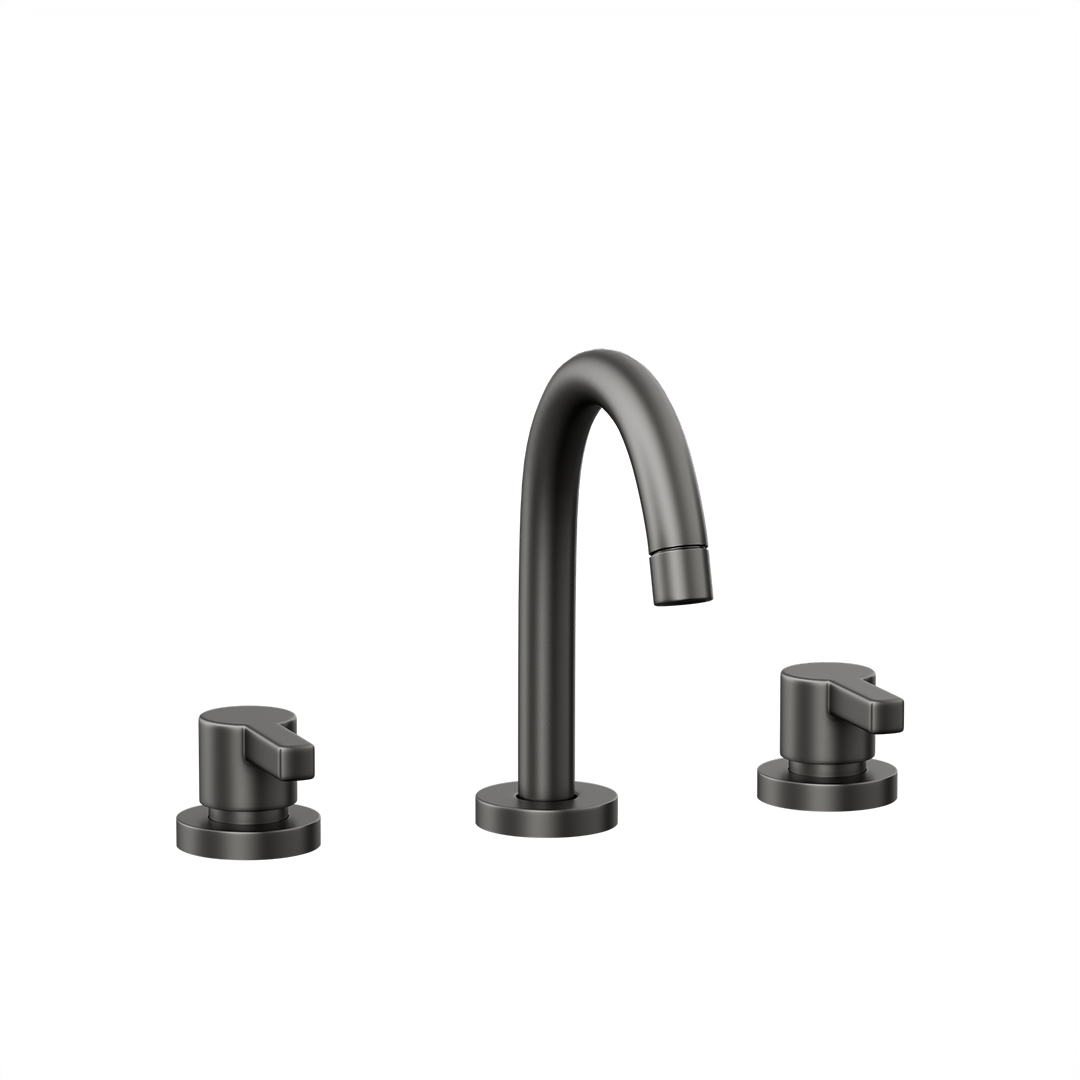
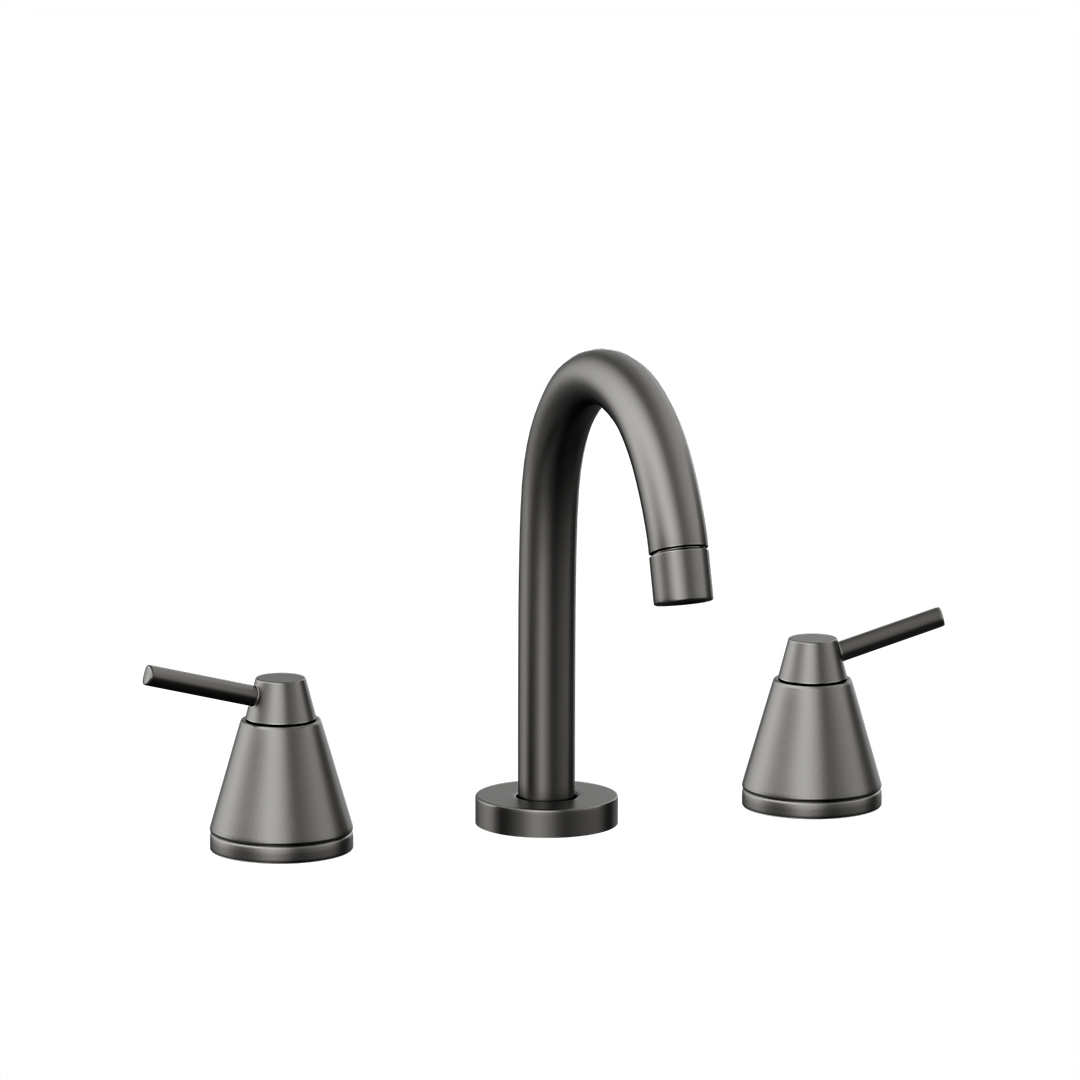
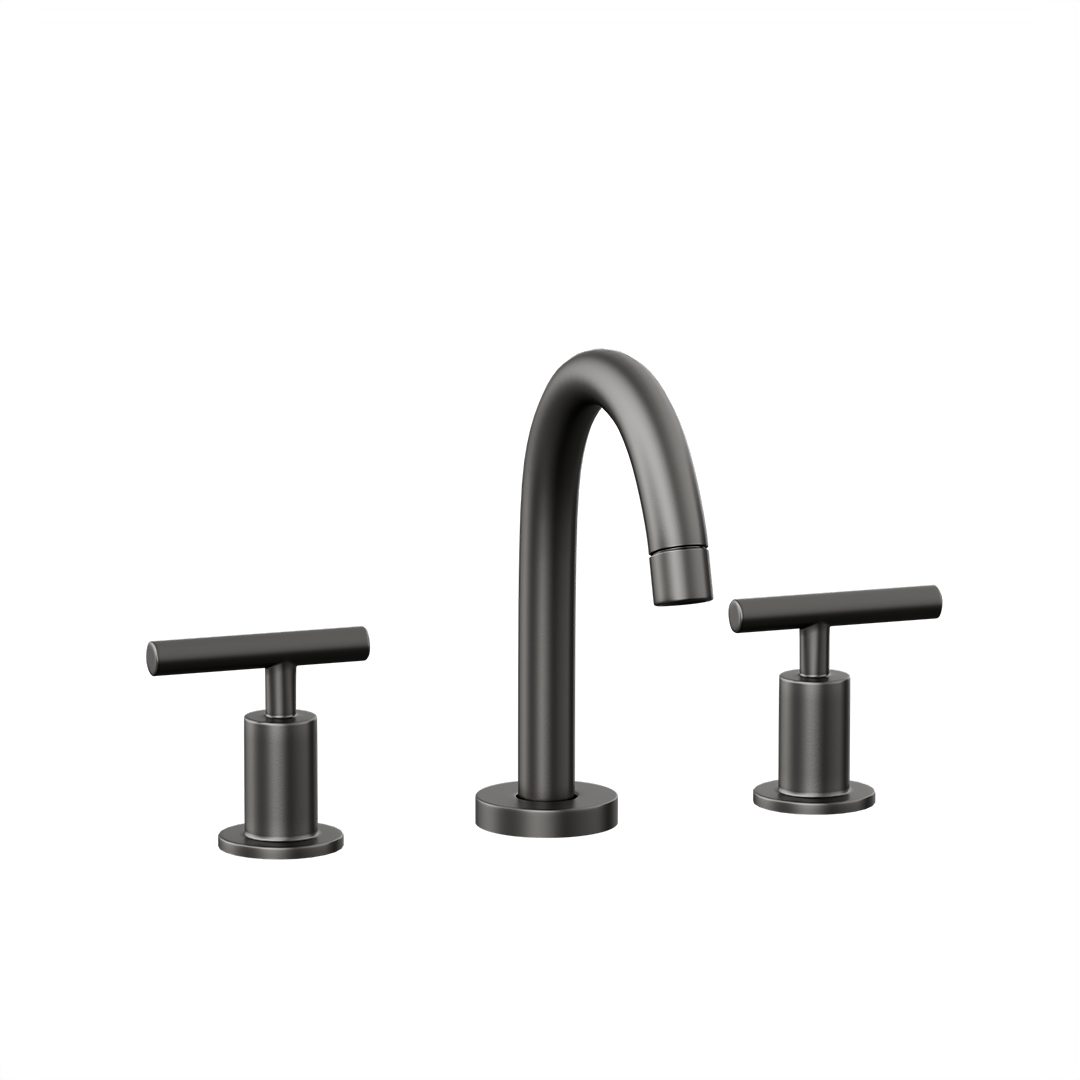
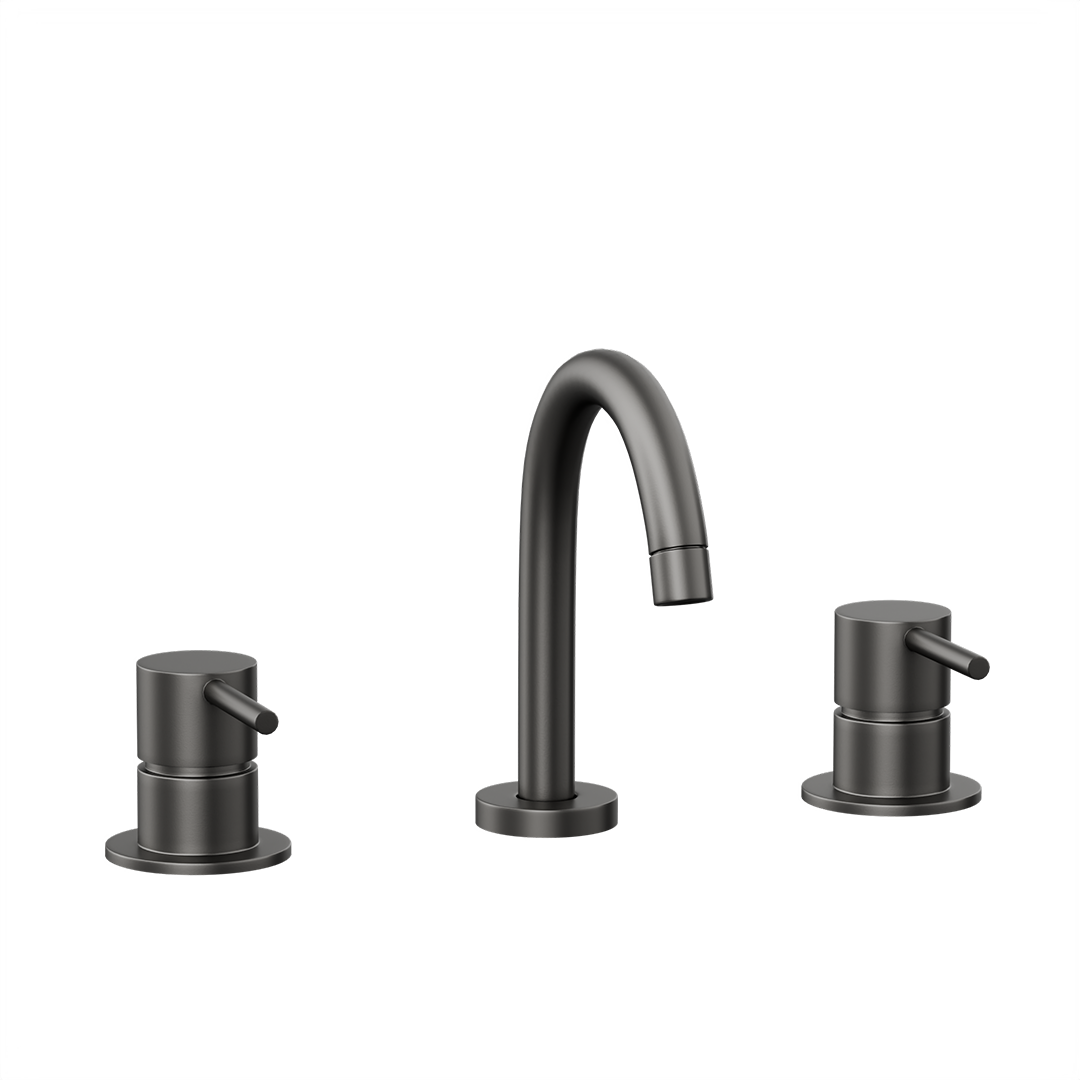
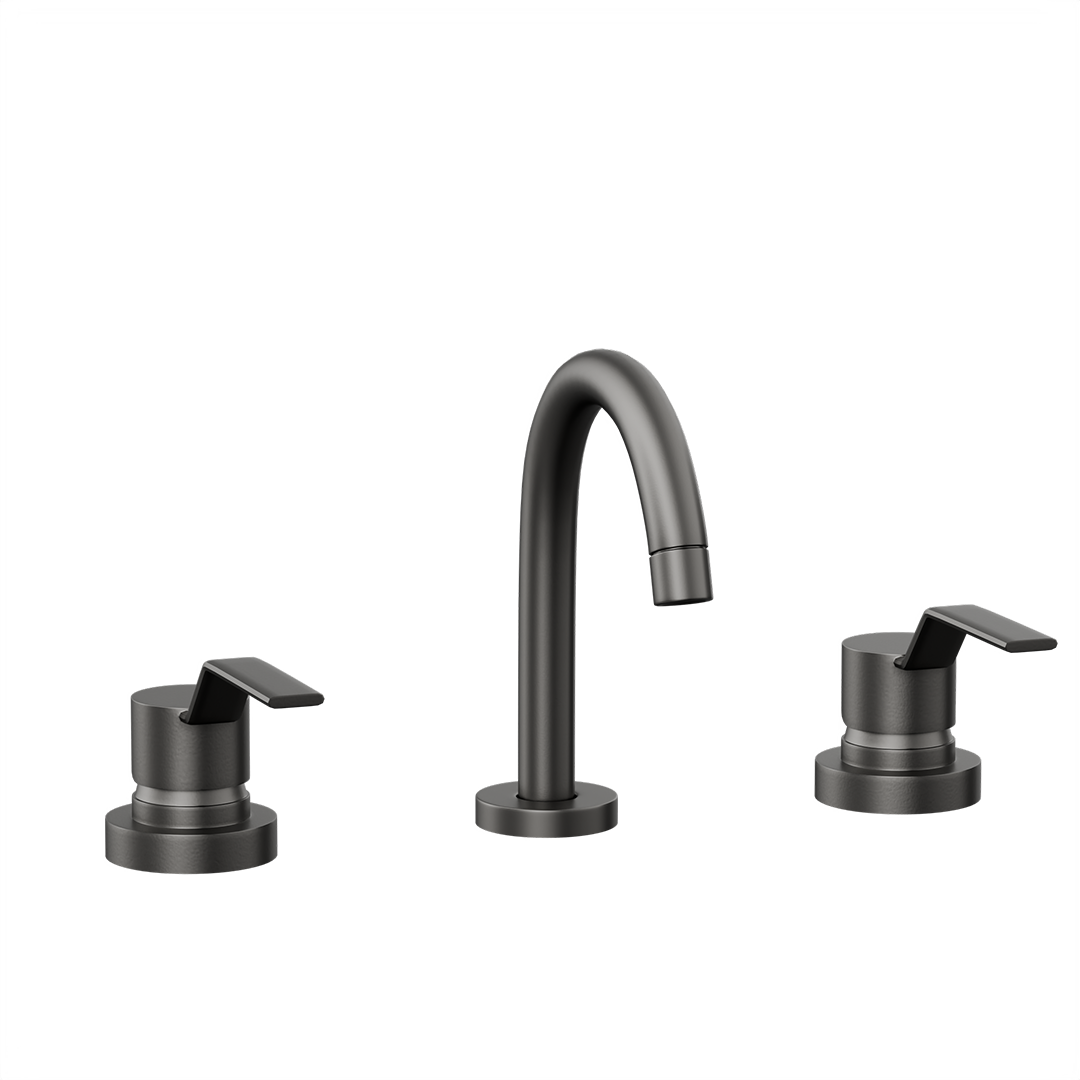
A fixture manufacturer had 25 finishes on the spec sheet but photos for only four. They sent us five CAD files and one reference photo for each finish. We built the materials, set up the first product, got it approved, then rendered every product and finish combination. Pick a finish below to see the range update.
Choose a finish to load the matching render. Camera, lighting and framing stay consistent across the set.
Scale
Most of the work happens up front. We prepare the geometry, build the finish library and get the look approved. After that, adding more products or views mostly adds render time. The 125 images in this project were one run of the same workflow we would use for a much larger catalog.
Five bodies, every finish in the range, one hero angle each.
The same approval steps and naming rules apply. The render queue is simply larger.
What we started from
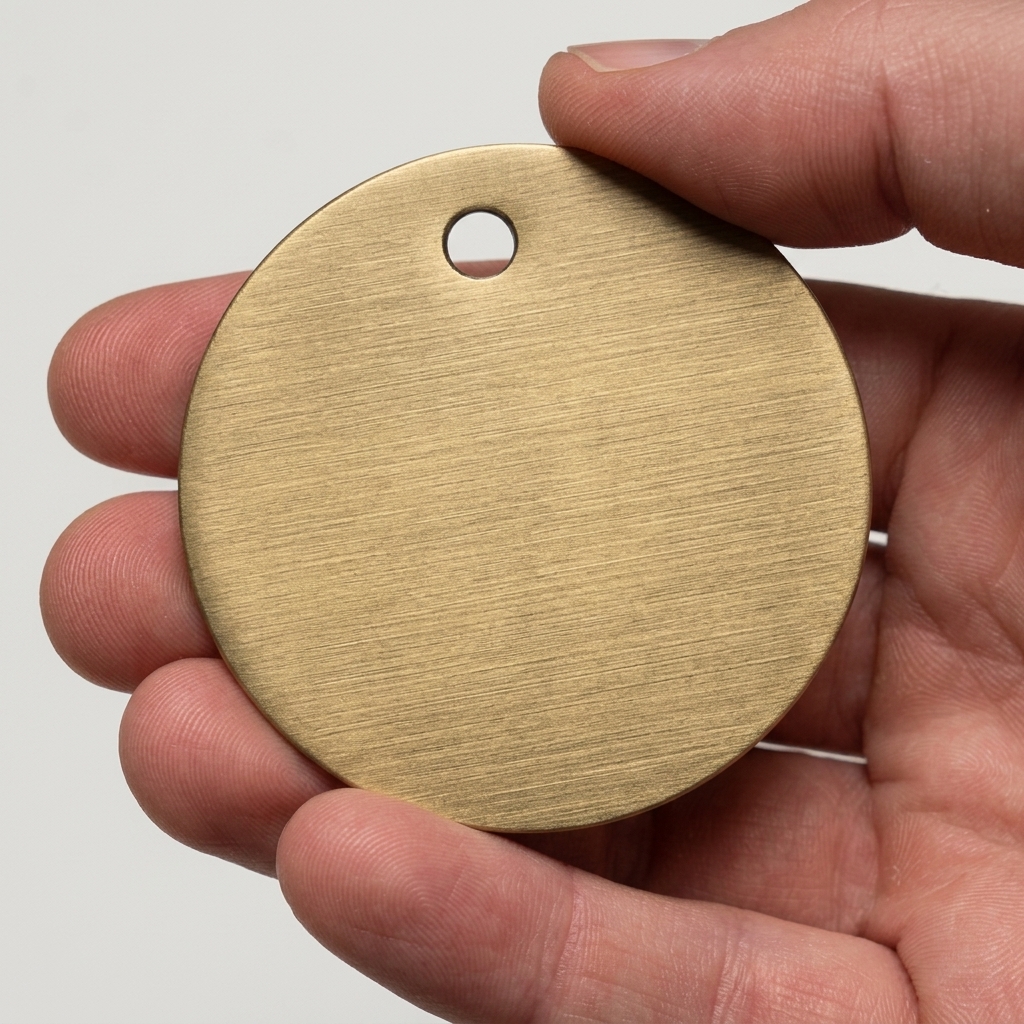
Nothing had to be shipped. We received five STEP files exported from SolidWorks and one reference photo for each finish. Each photo showed a plated sample disc held against a plain background.
We used those photos to build the finish materials. Each material was matched to its own reference photo instead of starting from a generic metal preset.
The challenge
Five products in 25 finishes means 125 images. Add a second camera angle and it becomes 250. Photography gets expensive quickly when every finish needs its own product image.
A finish sample can exist before a plated faucet does. That makes it difficult to prepare product images while the physical product is still in production.
A small colour swatch does not show how a finish looks across the full shape of a faucet. A render lets the customer compare the actual product in every finish from the same angle.
The process
We used two approval steps. First, the client reviewed the finish materials. Then we rendered all 25 finishes on one faucet and got that set approved. Only after that did we run the remaining four products. If something needed to change, we could fix it before repeating the issue across the full set.
This client already had five STEP files from SolidWorks, so we used their existing geometry. If CAD is not available, we can build the 3D model from product drawings, dimensions and clear reference photos first. Once the geometry is approved, the material setup is kept consistent so the same batch workflow can run across the full product range.
Each reference photo was turned into a material. We matched colour, roughness, brush direction and surface response, then tested the materials on one of the more reflective shapes before sending them for review.
The client reviewed the full finish set and sent notes where needed. We adjusted the materials until the finish library was approved.
✓ SIGNED OFF · ALL 25 FINISHESNext, we ran the batch on one faucet. This checked the camera, lighting, file names and final output before we repeated the process across the rest of the range.
✓ SIGNED OFF · FIRST PRODUCTOnce the first product was approved, the existing setup was used for the other four. The script changed the finish, rendered the image and saved it with the correct SKU based file name. That produced the full 125-image set.
3902-PC-faucet-shot1.png = series + finish code + viewThe delivery
Each row is a finish and each column is one of the five faucet bodies. The preview starts with chrome, brass and matte black. Expand it to see all 25 finishes.
“We signed off the finishes once and the rest of the catalog came back matching. Nothing left the warehouse.”
The result
The full set was used on the product pages and dealer portal. Each finish selector can now load an image of the faucet instead of relying on a small colour swatch. The same files can also be reused in dealer catalogs.
When the client added two more finishes, they sent two new reference photos. We added the materials and rendered ten new images across the five products.
Common questions
We build the product from your existing CAD and build each finish once as a material. After approval, the system renders every product and finish combination using the same camera and lighting setup.
Multiply products by finishes by views. For example, 250 products in 12 finishes with 3 views each means 9,000 images. That is where a repeatable render setup starts to make a big difference.
Existing CAD is helpful, but it is not required. If you have CAD, we can work from formats such as STEP. If you do not have a 3D model, we can build one from product drawings, dimensions and clear reference photos. We also need a clear reference for each finish, such as a plated sample photo, swatch or existing product image. For this project, the client supplied five STEP files and 25 finish photos.
Yes. If the manufacturing geometry is ready, we can start before finished production samples are available. That can give marketing images a head start on the product launch.
We lock the camera, lighting, background and naming rules after approval. Every product then runs through that setup, so the images stay consistent and can be regenerated later if needed.
Send us your product count, finishes and required views. We'll estimate the image count, price and delivery time.
Get a Quote →